
Between two macramé tutorials and yet another list of “easy” projects, DIY home decor is often presented without practical filters. Which project truly delivers on its promises when time, space, or budget are lacking? This article compares the most common DIY creative ideas according to three rarely intersecting criteria: the actual cost of materials, the execution time, and the technical difficulty for a beginner.
Cost, time, and difficulty: comparative table of the most common DIY decor projects
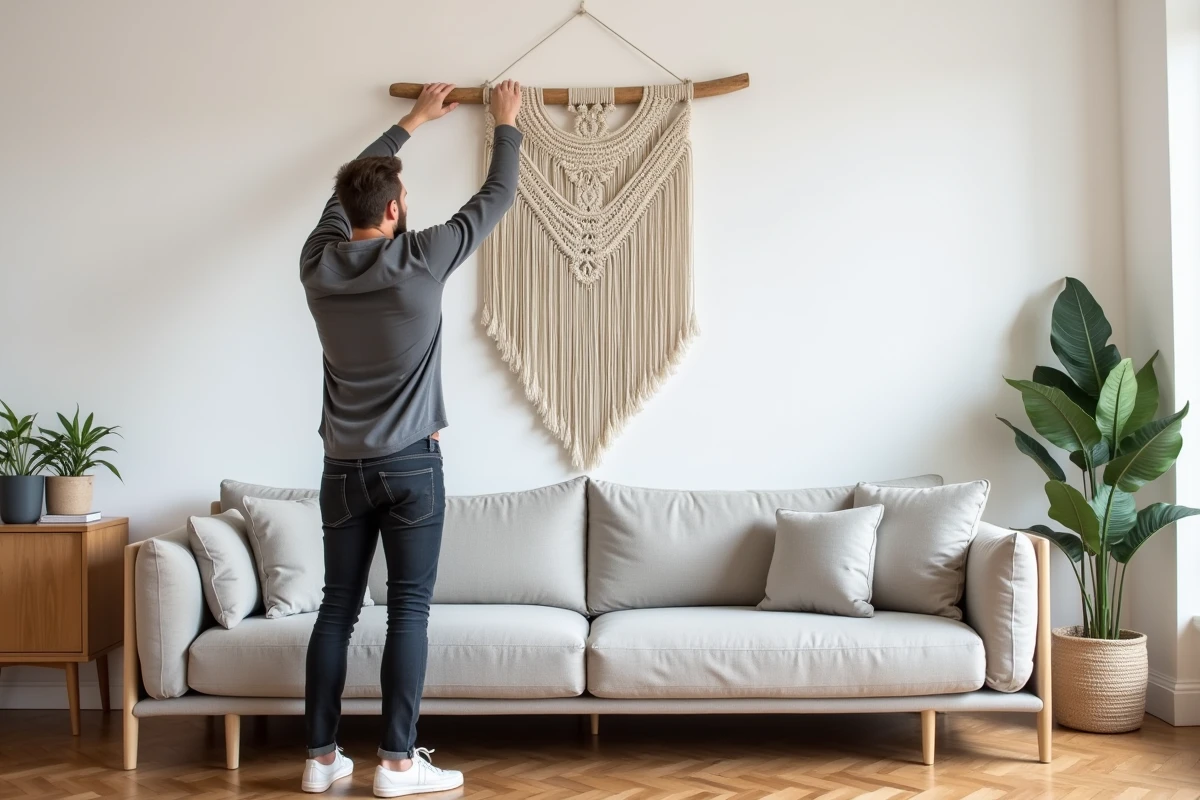
Most decor blogs present their tutorials without specifying what they actually require. An “express” terrarium may need an hour of preparation and specific supplies. A wall-mounted macramé hanging seems simple, but the consistency of the knots requires patience.
See also : Inspiring Stories and Everyday Tips to Improve Your Life
| DIY Project | Material Cost | Estimated Time | Difficulty (beginner) | Reversible (rental) |
|---|---|---|---|---|
| Driftwood photo frame | Low (upcycling possible) | Less than an hour | Very easy | Yes |
| Plant terrarium | Moderate | About an hour | Easy | Yes |
| Macramé wall hanging | Low | Two to three hours | Medium | Yes (adhesive hook) |
| Furniture makeover with paint | Moderate to high | Minimum half a day | Medium | No |
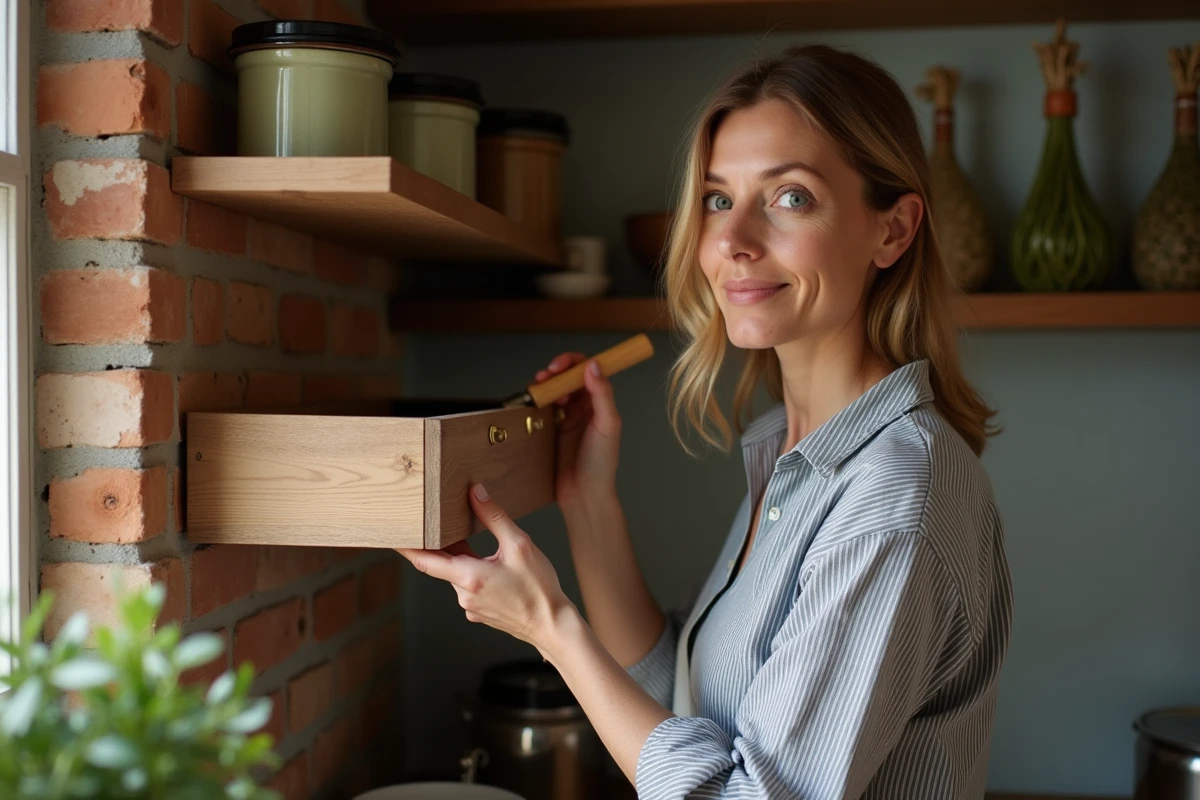
| Wall shelf with battens | Moderate | Two hours | Medium (drilling) | No |
| Upcycling jars into decorative vases | Very low | Less than thirty minutes | Very easy | Yes |
| Abstract painting on canvas | Moderate | One to two hours | Easy | Yes |
This table highlights a clear gap. Upcycling projects offer the best effort-return ratio: minimal cost, quick execution, immediate decorative result. Projects involving painting or drilling require a heavier commitment, often underestimated in online tutorials.
Specialized resources like cecilebricole.fr detail these intermediate steps that many tutorials shorten, particularly drying time or surface preparation.
Recommended read : Keys to Succeed and Thrive in Your Professional Career Daily
Upcycling and recovery: the forgotten angle of DIY interior tutorials
The majority of DIY decor content suggests purchasing new materials. Upcycling, which involves transforming an existing object rather than creating one from scratch, remains underrepresented in traditional search results.
The difference is structural. A new creation project (macramé, terrarium) requires a list of supplies. An upcycling project starts from what you already have: jars, pallets, fabric scraps, old frames.
- A glass jar painted with spray paint or wrapped in twine becomes a vase or a candle holder in less than twenty minutes, with no purchase needed if the paint is already available
- An old frame without glass, enhanced with clothespins, transforms into a reversible wall photo holder, ideal for rentals
- Scraps of wallpaper glued onto a reclaimed board produce an original decorative piece for a bare wall
Upcycling reduces the cost to almost nothing. It also lowers the risk of failure: messing up the paint on a reclaimed jar has no financial consequences.
DIY decor in rentals: reversible solutions without drilling
Drilling remains the main sticking point for renters. Shelves made with battens or framed mirrors require wall fixings, which limits their appeal in a temporary housing situation.
In contrast, several techniques allow you to decorate a wall without marking it. Repositionable adhesive strips can support lightweight frames. Adhesive hooks can hold macramé hangings or trailing plants.
Placing rather than fixing changes the logic of the project. A picture placed on an existing shelf, a vase set on a windowsill, a mirror simply leaned against a wall: these choices require neither tools nor permission.
For small spaces, verticality remains the best ally. A wire stretched between two adhesive hooks, adorned with postcards or Polaroid photos, occupies an entire wall without cluttering the floor.
Painting and finishing: common mistakes that ruin a decor project
Furniture makeovers with paint represent the most popular DIY project, but also the one that generates the most disappointments. The reason rarely lies in the choice of color.
Insufficient sanding is the primary cause of paint chipping after a few weeks. On a varnished or laminated piece of furniture, applying paint directly, even “furniture-special,” produces a fragile result.
- Lightly sand with fine grit to create a grip, even on an already matte piece of furniture
- Apply a suitable primer (undercoat) for the surface before any coloring
- Respect the drying time between coats, often longer than what quick tutorials indicate
- Protect the final result with a matte or satin varnish for durability
This process transforms a “one-afternoon” project into a minimum two-day job, including drying times. Tutorials that promise a makeover in two hours almost always omit these preparation steps.
Raw wood or antique furniture: adapting the technique to the support
On raw wood (pallet, batten), paint adheres naturally. The primer becomes optional, which shortens the project. On an antique piece covered in varnish, skipping the sanding step guarantees a disappointing result.
This distinction explains why projects based on new or reclaimed raw wood succeed better with beginners. The support is more forgiving of approximations.
Choosing a DIY decor project suitable for one’s level and constraints (budget, space, lease) remains the determining factor. The comparative table at the beginning of the article can serve as a quick selection grid. The most rewarding projects for a beginner are those that combine upcycling, no drilling, and short execution time, three criteria rarely found together in the most shared online tutorials.